The Secrets to great SCD yogurt
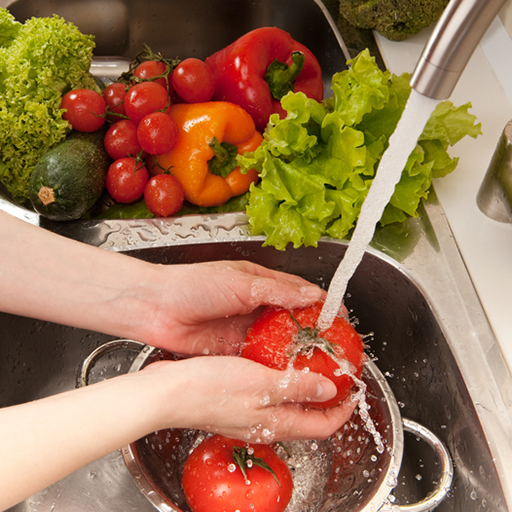
For many, SCD yogurt is a mainstay. It is not only rich and refreshing but gives parents and patients a delicious and nutritious source of calories that translates into energy for activities and growth. Different people have their favorite yogurt concoctions; whether you are a purist and prefer your yogurt with just honey and fruit, or if you are adventurous and like mango lassies, knowing how to make the SCD yogurt is key.
It is also important for those with cow’s milk allergies to know that SCD yogurt can also be made with alternative milks, including goat, almond, and coconut milks. The easiest way to make SCD yogurt is to use an electric yogurt maker. The vast majority of my patients use the Yogourmet yogurt maker. Many helpful instructions and videos exist online (including on the Pecanbread website) for making SCD yogurt.
Be aware that the yogurt maker’s temperature can get too hot in the summer time. Overheating beyond the recommended 100°F to 110°F can kill the good bacteria. To prevent this, purchase a plug-in dimmer switch, plug it into the yogurt maker, and adjust as needed. (Always keep a small food thermometer in the water, between the jar and the yogurt maker’s inner wall, so you can regularly check the temperature.)
Plan ahead, since it takes 32 hours from the time the yogurt starts until it is ready to eat—24 hours of fermentation plus 8 hours to settle and cool in the refrigerator—so don’t wait until you are out of yogurt to prepare the next batch.
Put a note on the yogurt maker marking the end time, as a visual reminder to stop heating the yogurt and to refrigerate it on time. Life is busy—you don’t want to forget it for too long and waste all that hard work—and milk!
Some families even end up getting a second yogurt maker so they can make double batches at a time.
Alternatives to cow's milk
- Goat milk. Use gentle heat, and watch carefully.
- Homemade almond milk or coconut milk. You must add honey to feed the bacteria and add gelatin for texture. Can be cultured for only 12 hours. Almond and coconut are naturally lactose-free.
Yogurt starters
Never use your homemade yogurt as a starter for a new batch!
Dannon plain whole milk yogurt. This is the least expensive starter, if you can use up the entire tub before it expires. However, it is not available in every store. It is important to make sure that you are using only this specific yogurt, since similar products contain bacteria strains that are not compatible with SCD. As with any store-bought product, companies can change their ingredients, and Dannon may eventually change its bacterial strains in its plain yogurt; it is unlikely, but if this happens, you and your child can reassess store-bought items.
GI Pro Health. This is a powdered yogurt starter that must be refrigerated. It is dairy-free, so it works well with both regular milk and with almond and coconut milk. It contains L. caseii rather than L. acidophilus and is the least tart in taste. It is not available in stores, only online at GI Pro Health’s website (www.giprohealth.com).
Making High Calorie Shake with SCD Yogurt
Blend together and then serve...Yum!:
1-2 cup(s) SCD whole milk or half and half-based yogurt
½ banana
½ c other fruit (mango, blueberry etc)
½ c greens
2 Tbsp coconut cream or 4 oz coconut milk or 2 T bsp avocado oil
1 Tbsp any nut butter
5 cups organic dried shredded coconut (unsweetened)
8 cups water
1 tablespoon plus 1 teaspoon organic powdered gelatin
1 tablespoon honey
XX yogurt starter (See "Yogurt Starters" above)
1. Place the coconut in a large pot. Add the water and bring it to a boil; lower the heat and simmer for 5 minutes. Remove the pot from the heat and let the mixture cool to room temperature, stirring occasionally.
2. Using a food processor or a blender (a heavy-duty model such as a Vitamix works well), process the coconut in several batches for about 3 minutes each time. Using several layers of cheesecloth or a purchased nut milk bag*, strain the pureed mixture into a large bowl. You should have about XX cups of coconut milk.
3. In a separate bowl, dissolve the gelatin and honey in ½ cup of your room-temperature coconut milk. Add the yogurt starter and mix well.
4. Add the gelatin mixture back into the batch of coconut milk. Stir well to combine, then pour the milk into the yogurt containers. Ferment for 10 hours in a yogurt maker or dehydrator, keeping the temperature between 100°F and 110°F.
5. Refrigerate the containers for 6 hours. The yogurt will separate, but once it has chilled a bit (but is not yet solid) you can shake it and it will stay a smooth texture.
Note: A nut milk bag is a cloth strainer with very fine mesh that's used specifically for making certain juices, nut milks, and yogurt. Most models are reusable and are quite inexpensive. They're much easier to handle than pieces of cheesecloth (though cheesecloth will definitely get the job done), so consider purchasing a supply of these for your convenience.